Installing a Garbage Disposal? Here’s What You Need to Know
Whether you’re replacing an old unit or installing a garbage disposal for the first time, understanding the process can make a big difference.
A disposal unit needs to be attached to your sink and connected to the drainpipe. This requires careful consideration to ensure it works smoothly.
To start, it’s key to know how to install it right. You need to consider your sink and plumbing system’s specific needs.
By following the right installation tips, you can avoid common problems. This way, you’ll enjoy the convenience of a working disposal unit.
Understanding Garbage Disposals
Garbage disposals are common in many American kitchens. They help manage food waste by shredding it into small pieces. These pieces then go through the plumbing system.
What is a Garbage Disposal?
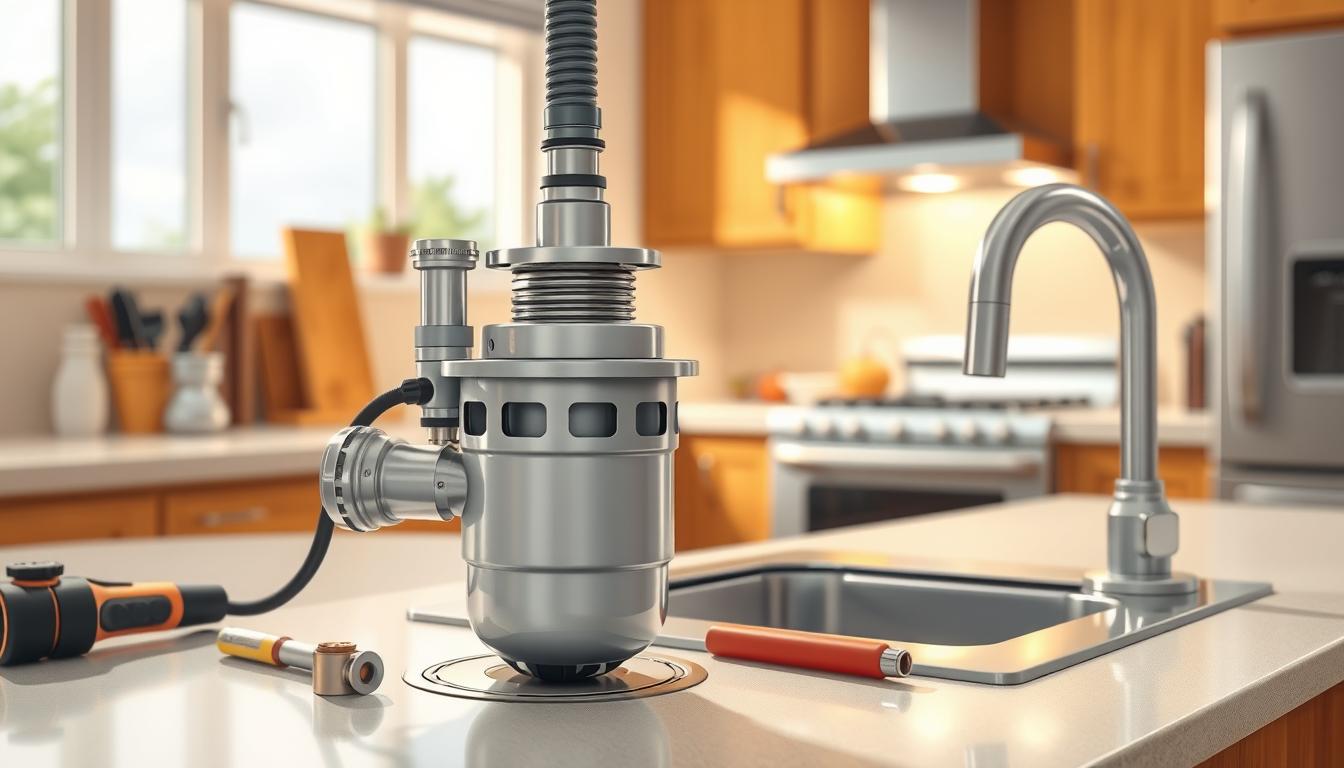
A garbage disposal is installed under the kitchen sink. It sits between the sink’s drain and the trap. They come in different horsepower ratings, from 1/3 to 1 horsepower.
The choice depends on your household’s needs and if you have a septic system. If you do, make sure to get a septic-safe disposal. This keeps your septic system balanced.
Benefits of Having One
Garbage disposals help reduce food waste sent to landfills. They also cut down on bad smells from rotting food in trash cans. Plus, they make cleaning up after meals easier.
For those doing a DIY garbage disposal installation, knowing these benefits can be a big plus.
Common Myths Debunked
There are many myths about garbage disposals. One is that they cause a lot of clogs and plumbing problems. But, when used right and kept up, they don’t cause more clogs than other sinks.
Another myth is that they harm septic systems. But, septic-safe disposals are made to work well with these systems. Knowing the truth helps homeowners make better choices, like a step-by-step garbage disposal installation.
Choosing the Right Garbage Disposal
There are many garbage disposals on the market. Choosing the right one means looking at different types and features. You need to find what works best for your kitchen.
Types of Garbage Disposals
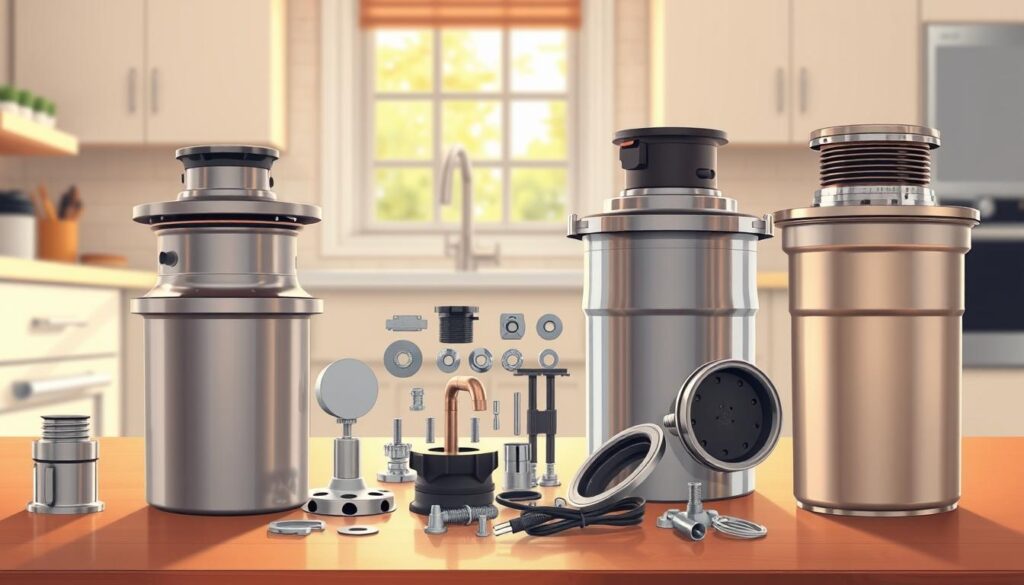
Garbage disposals are mainly two types: batch feed and continuous feed. Knowing these types helps you make a better choice.
- Batch Feed Disposals: These turn on only when a stopper is in place. They are safer, great for homes with kids.
- Continuous Feed Disposals: These run all the time until you turn them off. They’re easy to use but need more care.
Factors to Consider
When picking a garbage disposal, think about a few things. Here are the main points:
| Feature | Description | Importance Level |
|---|---|---|
| Power | Measured in horsepower, it shows how well the disposal works. | High |
| Noise Level | Some disposals are quieter than others. | Medium |
| Grind Technology | Good grind tech handles waste better. | High |
| Anti-jamming Feature | This feature helps avoid clogs and improves performance. | Medium |
“The right garbage disposal can greatly cut down kitchen waste and improve cleanliness. Picking one that fits your needs is key for the best results.”
Popular Brands to Explore
Many brands are known for their quality and performance. Here are some top ones:
- Moen: Known for durable and efficient disposals.
- KitchenAid: Offers models with advanced features.
- InSinkErator: A favorite among homeowners for its reliability and variety.
By looking at type, features, and brand, you can choose wisely. Following best practices for installing garbage disposal ensures a smooth setup. This makes your kitchen more convenient and clean.
Tools Needed for Installation
Before starting the installation, it’s important to gather the right tools. The right equipment makes the job easier and safer. It also ensures the installation is done efficiently.
Essential Tools List
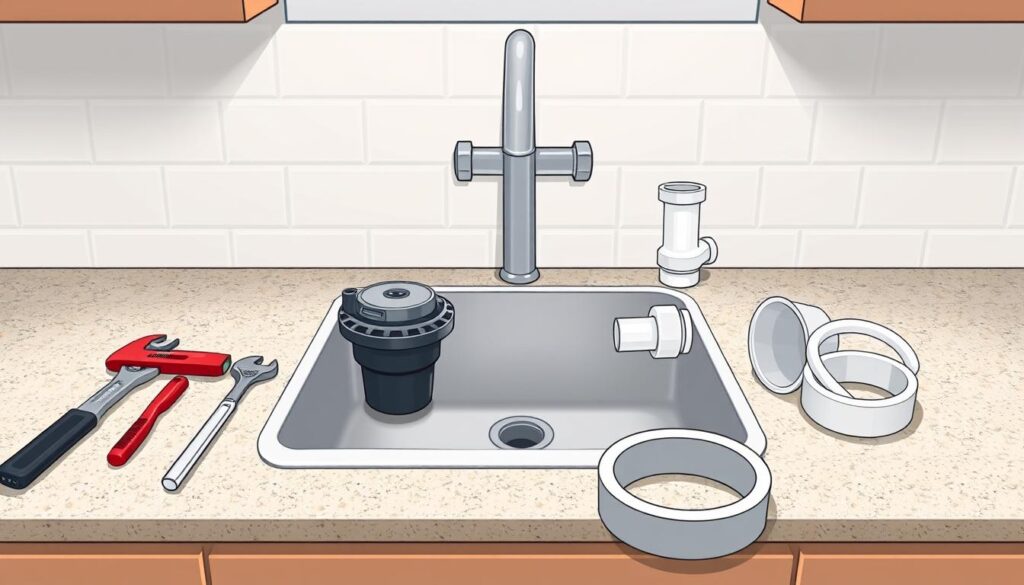
You’ll need a few basic tools for the job. These tools are common in most homes or can be found at a local hardware store. Here’s what you’ll need:
- A 1-Quart Bucket: Useful for holding parts or catching water spills during the installation.
- Hammer: A hammer is necessary for tapping parts into place or loosening stuck components.
- Putty Knife: This tool is handy for removing old plumber’s putty or applying new putty to create a watertight seal.
- Screwdriver: Both flathead and Phillips-head screwdrivers are typically required for various parts of the installation process.
- Safety Glasses: Protecting your eyes from debris or chemical splashes is very important.
Optional Tools That May Help
While the essential tools are a must, some optional tools can make the job easier.
- Adjustable Wrench or Basin Wrench: These can be very helpful in tightening or loosening mounting nuts, even in tight spaces.
- Channel-Type Pliers: Useful for gripping and bending various parts, such as pipe fittings or disposal mounting hardware.
Having these tools ready will help you feel confident about the installation. Remember, success also depends on following the manufacturer’s instructions and taking safety precautions.
Preparing for Installation
To avoid common mistakes during garbage disposal installation, thorough preparation is key. This step makes the installation smooth and safe.
Turning Off Power
Before starting, it’s vital to turn off the power to the disposal at the circuit breaker or fuse box. This step prevents accidental start-ups that could harm you. Use a voltage tester to check the power is off safely.
Gathering Necessary Materials
Having all the materials ready before you start can save time and reduce stress. You’ll need the new disposal unit, plumber’s putty, and any extra plumbing parts for your model. Make sure you have a complete set of tools and materials to make the installation go smoothly.
Some important materials you might need include:
- New garbage disposal unit
- Plumber’s putty
- Pipe wrench
- Channel-type pliers (for old disposal removal)
- Teflon tape
Check your disposal’s manual for a detailed list of materials and tools you’ll need. Having everything ready before you start will prevent delays and issues during the installation.
Step-by-Step Installation Guide
Installing a garbage disposal might seem hard, but it’s doable with the right help. This guide will help you through the process. You’ll be ready to install it yourself.
Removing the Old Disposal (if applicable)
First, if you’re replacing an old disposal, remove it. Start by taking off the drain trap and disposal from the dishwasher drain pipe. You might need to use a pipe wrench to loosen any tight connections.
After detaching the old disposal, remove it from its spot. Check the area for any leftover debris or old parts that need cleaning or replacing.
Mounting the New Unit
Now, mount the new disposal. First, clean the mounting assembly and make sure it’s free of debris. The new disposal comes with a mounting bracket. Follow the manufacturer’s instructions to attach it to the sink drain opening.
Key Steps for Mounting:
- Align the mounting bracket with the sink drain.
- Secure the bracket using the provided hardware.
- Make sure the bracket is snug and evenly spaced.
Connecting the Plumbing
Next, connect the plumbing. Start by reconnecting the dishwasher drain pipe to the new disposal. Make sure it’s secure and won’t leak. Then, attach the drain trap, tightening all fittings well.
Looking at a diagram or instructions from your disposal can help with plumbing connections. Here’s a simple table to guide you:
| Component | Connection Point | Notes |
|---|---|---|
| Dishwasher Drain Pipe | New Garbage Disposal | Ensure secure connection |
| Drain Trap | New Garbage Disposal | Tighten fittings securely |
By following these steps, you can install your new garbage disposal successfully. Don’t forget to test it after installation to make sure it works right and there are no leaks.
Electrical Connections Explained
Electrical connections are key for a garbage disposal to work right. If you’re doing it yourself, getting these connections right is very important. It’s all about safety and doing it correctly for a successful project.
Safety Precautions
Before you start on the electrical connections, make sure to take safety steps. First, turn off the power to the circuit at your main electrical panel. Use a voltage tester to check the power is off to avoid shocks.
Wearing protective gear like gloves and safety glasses is also a good idea. It helps protect you from electrical dangers.
Wiring the Garbage Disposal
To wire the garbage disposal, start by removing the cover plate that guards the electrical connections. If you’re replacing an old disposal, disconnect the old wiring carefully. Note the wire colors and their connections.
For the new disposal, connect the electrical cord by matching wire colors. Black wires go to black (hot wires), white to white (neutral wires), and copper to the grounding screw or wire. Make sure all connections are tight and secure.
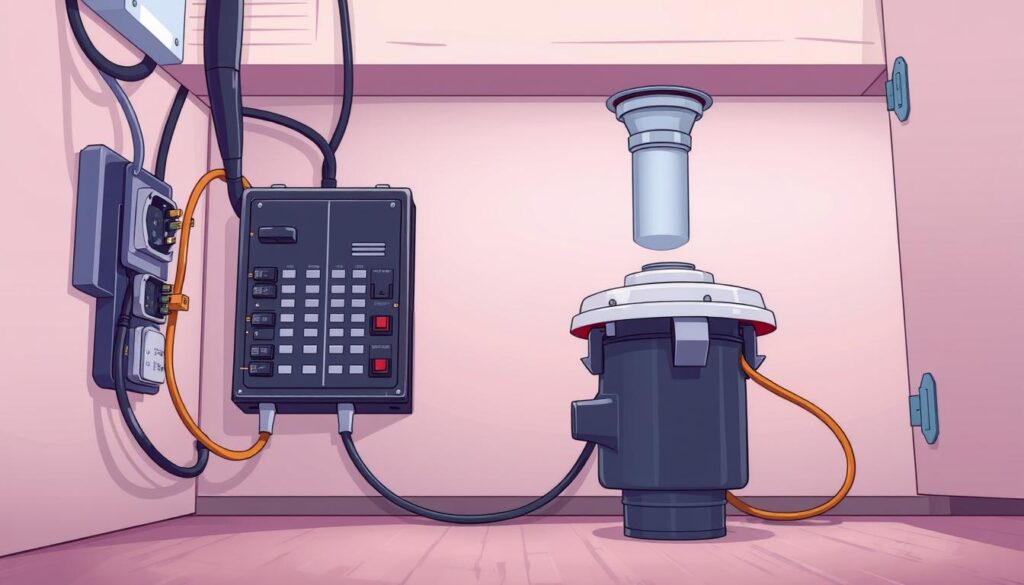
After wiring, put the cover plate back to protect the electrical connections. It’s wise to check the manufacturer’s instructions for your disposal model’s wiring needs.
By following these steps and taking safety precautions, you can have a successful DIY garbage disposal installation. Proper electrical connections are the key.
Testing Your Disposal After Installation
Testing your garbage disposal after installation is key to catch any early issues. A good test ensures it works right and safely. This helps avoid problems later on.
How to Run a Test
To test your disposal, fill the sink with water to cover the inlet. Check for leaks in the connections and mounting. If there are no leaks, plug it in and turn it on.
Run cold water while it’s on for a few seconds. This test shows if the disposal works well and if there are any immediate problems.
Experts say, “Running cold water is key. It helps move food through the system and into the drain.” This simple step boosts the disposal’s efficiency and life.
Troubleshooting Common Issues
If you find problems during the test, there are common issues to check. If it won’t turn on, make sure it’s plugged in and the circuit breaker is okay. For leaks, look for moisture or water around the mounting and connections.
If it makes strange noises, it might have something stuck or needs adjustment.
A plumbing expert says, “Regular care and quick fixes can make your disposal last longer and save you money on repairs.”
“A well-maintained garbage disposal is not just a convenience, it’s a necessity for a hygienic kitchen environment.”
To fix issues, follow these steps:
- Check the power connection and circuit breaker.
- Inspect for leaks around the mounting and connections.
- Investigate unusual noises by checking for blockages or misalignments.
By following these steps and knowing how to test your disposal, you can make sure it works well without trouble.
Maintenance Tips for Longevity
Proper care and maintenance of your garbage disposal can make it last longer. By following a few simple tips, you can keep your disposal working well. This ensures it continues to function efficiently and effectively.
Regular Cleaning Routines
Regular cleaning is key to keeping your garbage disposal smelling fresh and working right. One good method is to grind up a sliced lemon every few days. The citric acid helps break down grease and food particles, keeping odors away. You can also try grinding ice cubes to sharpen the disposal’s blades and remove debris.
Additional cleaning tips:
- Run cold water through the disposal while it’s operating to help move food particles through the system.
- Use a disposal cleaning product or baking soda and vinegar to neutralize odors and clean the disposal.
What Not to Put Down the Disposal
Avoid putting harmful or problematic items down your garbage disposal. This prevents clogs, damage, and unpleasant odors. Some items to avoid include:
- Fibrous foods like celery or onion skins, which can wrap around the blades.
- Grease or oils, which can solidify and cause clogs.
- Hard or dense materials like bones or pits, which can damage the disposal.
- Expandable foods like pasta or rice, which can swell and cause blockages.
By being mindful of what you put down your disposal and maintaining a regular cleaning routine, you can extend its life. This ensures it continues to operate effectively.
Signs You Need a Replacement
If your garbage disposal starts acting up or makes strange noises, it’s time to think about replacing it. Garbage disposals can get old and stop working well, which can be dangerous.
Warning Signs of Malfunction
There are a few signs that your garbage disposal is failing. These include:
- Unusual Noises: Grinding, clunking, or humming sounds mean it’s time for a check-up.
- Leaks: Water leaking from the disposal or its connections is a clear sign of a problem.
- Poor Performance: If food waste isn’t being ground properly, it may be due to dull blades or other internal issues.
- Burning Smells: A burning odor could indicate electrical issues or excessive wear on the motor.
Ignoring these signs can lead to more significant problems, including backups and safety risks. Regular maintenance can help, but sometimes, a new disposal is needed.
When to Call a Professional Service
If you’re not sure about your garbage disposal’s condition, it’s best to call a pro. They can check it out and tell you if you need garbage disposal repairs or a new one.
Here are some scenarios where calling a professional is advisable:
| Issue | Potential Cause | Recommended Action |
|---|---|---|
| Persistent Clogging | Blockages or worn-out grinding components | Consult a plumber to diagnose and fix the issue. |
| Electrical Issues | Faulty wiring or motor problems | Hire a licensed electrician or plumber to safely address electrical concerns. |
| Leaks or Water Damage | Loose connections or cracked housing | Have a professional inspect and repair or replace the disposal and fix any water damage. |
Knowing the signs that your garbage disposal needs to be replaced and when to call a pro can keep your kitchen running smoothly. For more garbage disposal installation tips, check out resources from trusted manufacturers and plumbers.
Eco-Friendly Garbage Disposal Practices
We all want to leave a smaller ecological footprint. This means looking into eco-friendly ways to handle garbage disposal. It’s not just about installing and keeping up with disposals. It’s also about changing our habits to be kinder to the planet.
Composting Alternatives
Composting is a great way to help your kitchen be more sustainable. It turns organic waste into a soil that’s full of nutrients. This helps cut down on the waste that ends up in landfills.
Benefits of Composting:
- Reduces landfill waste
- Creates nutrient-rich soil for gardening
- Decreases the need for synthetic fertilizers
To compost, you need a bin or pile for your kitchen scraps and yard waste. It’s important to mix “green” materials like food scraps and grass with “brown” materials like dried leaves or straw.
| Green Materials | Brown Materials |
|---|---|
| Food scraps | Dried leaves |
| Grass clippings | Straw |
| Fruit and vegetable peels | Shredded newspaper |
Reducing Waste in Your Kitchen
Being careful about what you put down the disposal can really help. Don’t put fibrous or starchy foods down the drain. They can clog or strain the disposal.
Tips for Reducing Kitchen Waste:
- Plan meals to avoid food waste
- Use a disposal strainer to catch solids
- Compost food scraps when possible
By following these eco-friendly tips, you help the environment and make your disposal last longer.
Cost Considerations
Thinking about the cost of installing a garbage disposal is important for homeowners. Knowing these costs helps you make a smart choice.
Average Installation Expenses
The price to install a garbage disposal changes based on who does it. If you do it yourself, it can cost between $80 to $150. This depends on the disposal unit and any plumbing parts you need.
DIY Installation Costs: The main cost for DIY is the disposal unit itself. You might also need plumbing supplies and a mounting kit, if not included.
DIY vs. Professional Installation
DIY installation can save money, but hiring a pro ensures it’s done right and safely. Professional costs are around $400, including labor and parts.
Here’s a look at DIY and professional installation costs:
| Installation Type | Average Cost | Inclusions |
|---|---|---|
| DIY Installation | $80 – $150 | Garbage disposal unit, possible plumbing supplies |
| Professional Installation | Around $400 | Labor, disposal unit, plumbing adjustments or parts |
Frequently Asked Questions
Thinking about getting a garbage disposal? You might have some questions. Let’s tackle some common ones to help you decide.
Common Concerns Addressed
Do you need an electrician to install a garbage disposal? If you’re good with DIY electrical work, you might be able to do it yourself. But, if you’re not sure, it’s smart to get a licensed electrician to check it’s safe.
Do you need a special sink for a garbage disposal? Usually, a regular sink works just fine. But, make sure the disposal unit you want fits your sink.
Resources for Additional Support
Looking for a detailed guide on installing a garbage disposal? Check out online tutorials or manufacturer guides. If you’re not sure, a professional plumber can offer expert help and advice.
