How to Remove a Stuck Sink Trap
A stuck sink trap can really mess up your day. It can cause leaks, bad smells, and even attract pests. If not fixed quickly, it could lead to bigger plumbing issues.
It’s really important to fix this problem fast. A stuck trap can make your sink leak, smell bad, and even attract pests. So, it’s key to solve it quickly and well.
This article will show you how to free your sink trap. We’ll talk about the tools you need, the steps to take, and how to stay safe. This way, you can fix it yourself without any hassle.
By the end of this guide, you’ll know how to deal with a stuck sink trap. This will save you time and money on plumbing repairs.
Understanding the Sink Trap: Function and Importance
To solve a stuck sink trap problem, knowing its role is key. A sink trap is a curved pipe under the sink. It keeps sewer gases out of your home.
What is a Sink Trap?
A sink trap, or P-trap, is a critical part of your sink’s plumbing. It traps water to block sewer gases. This keeps your kitchen or bathroom smelling fresh.
The trap is made to be self-cleaning. It’s usually made of PVC or metal. Knowing how it works helps you fix a stuck trap.
Why Traps Get Stuck
Sink traps can get stuck for many reasons. Rust and corrosion are big culprits. They can also get clogged with minerals or installed wrong.
Knowing why a trap is stuck helps you find the right fix. You might need to clean, lubricate, or replace it.
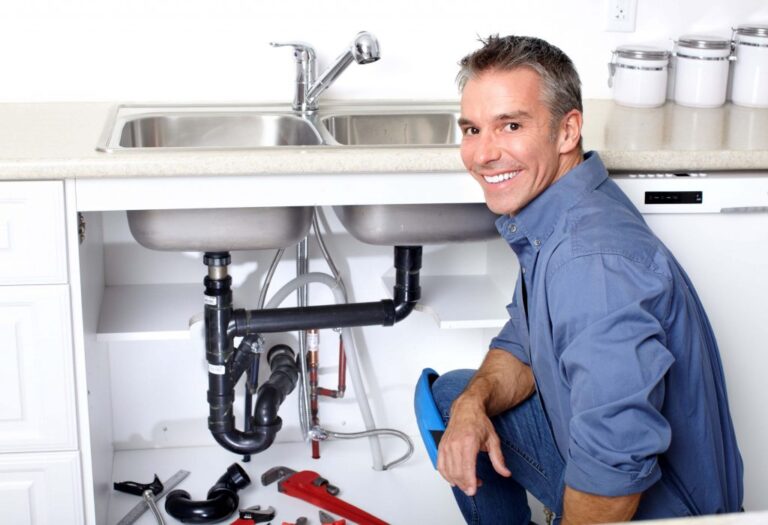
Safety First: Preparing for the Task
Before you start, make sure you’re ready and have the right tools. DIY sink trap removal needs careful planning to avoid accidents and damage.
Make sure you have all the tools you need. This includes a pipe wrench, pliers, and a drain snake if the clog is bad. Having the right tools makes the job easier and reduces the risk of causing more damage.
Gather Your Tools
Getting the right tools is the first step. You’ll need:
- A pipe wrench or basin wrench to loosen the slip nuts holding the trap in place
- Pliers to grip any small parts or debris
- A bucket to catch any water or debris that might spill out
- A cloth or rag to clean up any spills immediately

Wear Protective Gear
Wearing protective gear is key when removing a stuck sink trap. This includes:
- Gloves to protect your hands from sharp edges and chemicals
- Safety goggles to protect your eyes from any splashing water or debris
- A face mask to avoid inhaling any fumes or dust
Wearing the right gear makes the process safer for you, reducing the risk of injury.
Assessing the Situation: Recognizing the Stuck Trap
Spotting a stuck sink trap is easy if you know the signs. First, you must understand the problem before fixing it.
Signs Your Sink Trap is Stuck
A stuck sink trap doesn’t budge when you try to turn it. Common signs include:
- Visible corrosion or mineral buildup around the trap’s connections.
- Difficulty in removing or adjusting the trap.
- Leaks from the trap area that aren’t easily stopped by tightening.
These signs mean the trap is corroded or too tight. It needs special care to remove.
Inspecting for Damage
Before trying to remove the stuck trap, inspect it carefully for damage. Look for cracks, rust, or mineral deposits that could make removal harder.
Key areas to inspect include:
- The connections between the trap and the sink drain.
- The trap’s curvature and body for any visible cracks.
- The slip nuts and washers for signs of wear or damage.
This check helps you plan the best way to remove it. It also helps avoid more damage.
The Best Techniques for Loosening
When dealing with a stuck sink trap, the right loosening techniques are key. They can help you fix it yourself or avoid expensive professional help.
Using a Wrench
Using a wrench is a common way to loosen a stuck sink trap. It’s important to pick the right wrench for the job. An adjustable wrench or a basin wrench works best because they offer the right grip and leverage.
When you use a wrench, apply gentle, steady pressure. This helps avoid damaging the trap or pipes. If the trap doesn’t come loose right away, don’t force it. Forcing it could cause it to break.
Applying Lubricants
Applying lubricants is another good way to loosen a stuck sink trap. Penetrating oils or silicone-based lubricants can reduce friction. Spray the lubricant on the stuck area and wait a few minutes for it to work.
| Lubricant Type | Effectiveness | Application Ease |
|---|---|---|
| Penetrating Oil | High | Easy |
| Silicone Spray | Medium | Very Easy |
Experts say the right lubricant makes removing a stuck sink trap easier.
“The key to successfully loosening a stuck sink trap lies in patience and the right technique,” says a seasoned plumber.
By using a wrench and applying lubricants, you can loosen and remove a stuck sink trap. This ensures a successful fix.
DIY Solutions: Quick Fixes at Home
If you’re into DIY projects, you can easily remove a stuck sink trap at home. These methods save money and let you fix the problem yourself, without waiting for a plumber.
Vinegar and Baking Soda Method
Using vinegar and baking soda is a green and safe way to clear blockages. It breaks down debris that makes the trap stick.
- Pour 1 cup of baking soda down the drain.
- Follow with 1 cup of vinegar.
- Let it sit for a few hours or overnight.
- Rinse with hot water.
This method is kind to your pipes and works well for small clogs.
Hot Water Technique
Hot water can also help loosen a stuck trap. It melts grease or debris that’s causing the problem.
- Boil a kettle of water.
- Carefully pour the hot water down the drain.
- Let it sit for a few minutes before trying to remove the trap.
When trying DIY methods to remove a stuck sink trap, safety first. Wear protective gear. If unsure or if it doesn’t work, get professional help.
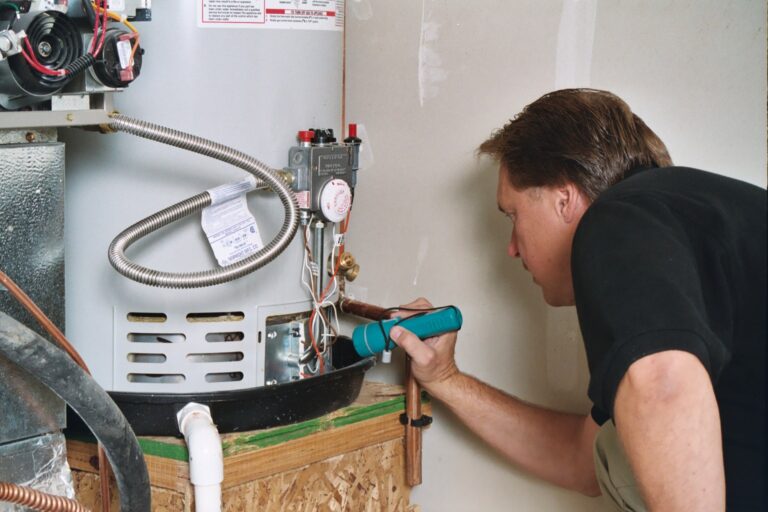
When to Call a Professional
Trying to fix a stuck sink trap yourself can sometimes cause more problems. It’s important to know when to ask for help from a plumber. DIY methods work well for simple clogs, but complex issues need a pro’s touch.
Signs You Need Expert Help
There are clear signs you should get a plumber for a stuck sink trap. These include:
- Persistent clogs despite using DIY clearing methods
- Visible signs of damage to the trap or surrounding pipes
- Lack of confidence in your ability to safely remove the trap
- Previous attempts at removal have resulted in further damage
Spotting these signs early can prevent more damage and fix the problem quickly.
Finding a Reliable Plumber
When you decide to get professional help, finding a good plumber is key. Here’s how:
- Ask friends, family, or neighbors for recommendations.
- Look up online reviews and ratings to see a plumber’s reputation.
- Make sure the plumber is licensed and insured.
- Compare prices and services from different plumbers.
A good plumber will not only solve your problem but also teach you how to avoid it in the future.
| Criteria | What to Look For | Why It Matters |
|---|---|---|
| Licensure | A valid plumbing license | Ensures the plumber has the necessary training and expertise |
| Insurance | Liability insurance | Protects you and your property in case of accidents or damage |
| Reviews | Positive reviews on reputable platforms | Indicates a history of satisfactory service and customer satisfaction |
Knowing when to call a professional and how to find a reliable plumber helps. This way, your stuck sink trap will be fixed efficiently and safely, avoiding more damage and hassle.
Preventing Future Stuck Traps
To keep your sink trap working well, follow some easy steps. Simple maintenance and careful use can prevent stuck traps. This saves you from the trouble and cost of fixing them.
Regular Maintenance Tips
Keeping your sink trap in good shape is key. Check it often for wear and make sure connections are tight. This helps avoid clogs and leaks.
- Inspect the trap regularly for corrosion or damage.
- Tighten any loose connections to prevent leaks.
- Use a drain screen to catch hair and other debris.
Table: Maintenance Schedule
| Task | Frequency | Benefit |
|---|---|---|
| Inspect trap | Monthly | Early detection of issues |
| Tighten connections | Quarterly | Prevents leaks |
| Clean drain screen | Weekly | Reduces clogs |
What Not to Put Down the Sink
What you put down the sink matters a lot. Some things can clog or harm your trap, making it stick.
Avoid pouring grease, oil, and food scraps down the sink, as they can solidify and cause blockages.
- Never pour chemicals like paint or harsh cleaning products down the drain.
- Avoid disposing of large amounts of food waste.
By following these tips and being careful with your sink, you can lower the chance of a stuck trap. Regular care and smart use keep your sink trap running smoothly for a long time.
Troubleshooting Common Issues
Removing a stuck sink trap can be tricky, with problems like cracked traps and clogs. Knowing these issues can help you get ready and maybe even avoid them.
Dealing with Cracked Traps
A cracked trap is a big problem because it can cause leaks and more damage. If you find a crack while removing, check how bad it is before you go on. For small cracks, you might fix them with plumber’s epoxy or similar sealants.
But if the crack is big, it’s best to get a new trap to avoid more trouble.
When dealing with a cracked trap, always wear protective gear. This includes gloves and safety glasses to protect you from sharp edges and chemicals.
Handling Clogs While Removing
Clogs can make removing the trap harder by blocking your way. If you hit a clog, try to get rid of it first. Use a plunger or a plumbing snake to clear it out.
For tough clogs, a chemical drain cleaner might work. But use it carefully and follow the directions to not harm your pipes.
After clearing the clog, you can go back to removing the trap. If the clog won’t budge, it’s best to get help from a pro to avoid more damage.

Being ready for these common problems makes removing a stuck sink trap easier and more successful. Always remember to be safe and careful when working with plumbing.
Alternative Removal Methods
Removing a stuck sink trap can be tough. But, there are other ways to try. When usual methods don’t work, it’s time to look at other options. These can help loosen and remove the trap without harm.
Using Plumber’s Tape
Plumber’s tape, or Teflon tape, is not just for sealing pipes. It can also help with a stuck sink trap. Wrap plumber’s tape around the trap’s threads to reduce friction and loosen it. But, this method is more for prevention than fixing a stuck trap.
Benefits of Using Plumber’s Tape:
- Reduces friction between threaded connections
- Helps create a watertight seal
- Can aid in easier removal and reinstallation
The Heat and Expansion Method
Applying heat to a stuck sink trap is another option. This method works because metals expand when heated. By heating the stuck area, you might loosen the trap.
Caution: Don’t overheat, as it can damage the trap or nearby materials.
| Method | Description | Effectiveness |
|---|---|---|
| Plumber’s Tape | Reduces friction on threaded connections | Moderate |
| Heat and Expansion | Expands metal to loosen the trap | High |
It’s key to consider each method’s effectiveness and risks. Sometimes, mixing methods can work best.
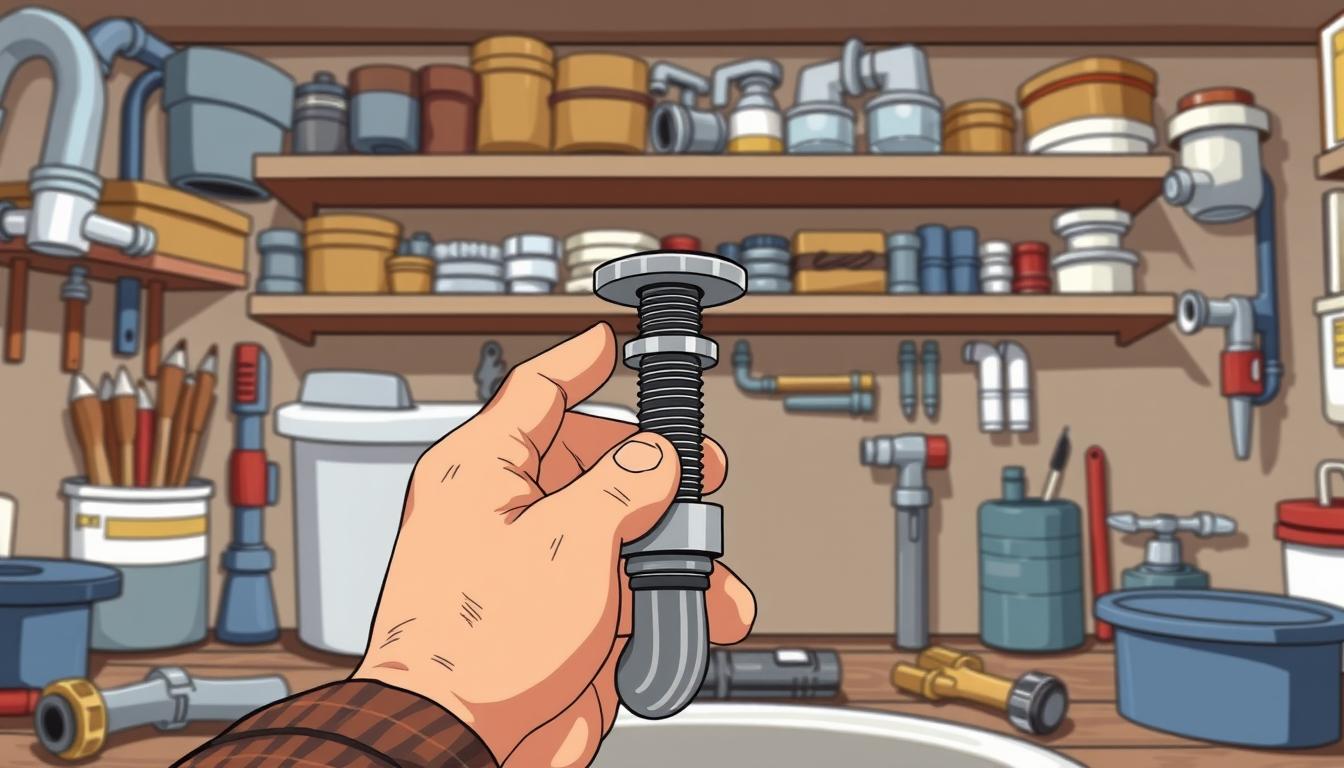
Final Steps: Reassembling the Trap
Putting the sink trap back together is key to avoiding leaks. After fixing or cleaning the stuck trap, it’s important to do it right.
First, make sure everything is clean. This includes the sink drain and the trap. Any dirt can cause problems later.
Ensuring a Proper Seal
A good seal stops leaks. Check the gaskets and washers for damage. Replace them if needed for a tight fit.
- Apply a thin layer of plumber’s grease to the gaskets and washers to enhance the seal.
- Tighten the connections firmly, but avoid over-tightening, which can damage the threads.
Table: Common Issues and Solutions During Reassembly
| Issue | Solution |
|---|---|
| Leaks at the connection | Tighten the connection or replace the gasket/washer |
| Trapped debris | Clean the trap and sink drain thoroughly |
| Improper alignment | Adjust the trap’s position to align with the sink drain |
Testing for Leaks
After reassembling, test for leaks. Turn on the water and check for moisture around connections.
If you see leaks, tighten a bit more. If it keeps leaking, you might need to take it apart again.
By following these steps, you can make sure your sink trap works right. This completes fixing a stuck sink trap.
Cleaning Up: Post-Removal Care
After removing a stubborn sink trap, it’s key to clean up well. This prevents future plumbing problems and keeps your sink area clean. Clearing a blocked sink trap can be messy, but good care makes your sink work well.
Disposal and Cleanup
Throw away any materials you took out, like old gaskets or debris. Clean your tools and equipment well. This stops any leftover grime from causing problems later.
Sink Area Maintenance
Cleaning your sink area often stops grease and debris buildup. Use a gentle cleanser to wipe down the sink and around it. Dry it to avoid water spots. Keeping your sink area clean helps avoid stuck sink traps in the future.