How to install bathroom sink plumbing
Assuming you need help with the basics of how to install bathroom sink plumbing: Turn off the water to the sink. This is usually done by turning the knobs to the right. Once the water is off, open the faucet to release any water that may be in the lines and to clear out any debris. Use a wrench to remove the nuts that secure the supply lines to the faucet. You may find it helpful to place a bucket or bowl under the sink to catch any water or debris that falls when you remove the lines. Remove the old faucet. This will vary depending on the type of faucet you have. Consult your owner’s manual or the manufacturer’s website for specific instructions. Clean the sink surface. This step is important to remove any dirt, debris, or soap scum that could prevent the new faucet from sealing properly. Place the new faucet in the holes on the sink. Again, this will vary depending on the type of faucet you have. Make sure the faucet is properly aligned and level before proceeding to the next step. Secure the new faucet. Once the faucet is in place, use the supplied nuts or other hardware to secure it to the sink. Do not overtighten the nuts, as this could damage the sink or the faucet. Reconnect the supply lines. Use the wrenches to screw the supply lines back onto the valves. Be sure not to overtighten these connections. Turn on the water valves. Gradually turn on the cold and hot water valves. Allow the water to run for a minute or two to check for leaks. Make any necessary adjustments to the connections. Enjoy your new sink!
How to Install a Bathroom Sink
Bathroom sinks are a necessary part of any bathroom. They can be both functional and stylish. When it comes to choosing a bathroom sink, you have many options. But before you can start using your new sink, you need to install it. Here are some tips on how to install a bathroom sink:
1. The first step is to remove the old sink, if there is one. To do this, you will need to turn off the water supply and disconnect the drain lines. Then, use a screwdriver or a wrench to loosen the mounting nuts and bolts that hold the sink in place. With the old sink out of the way, you can now proceed to install the new one.
2. Place the new sink in the desired location and mark the holes that need to be drilled for the faucet and drain lines.
3. Drill the holes and then attach the faucet and drain lines.
4. It is now time to install the bathroom sink. Place it in the hole and then secure it in place with the mounting nuts and bolts.
5. Turn on the water supply and check for leaks. If there are no leaks, you have successfully installed your bathroom sink.
Tools and Materials Needed
for Planting Succulents If you’re looking to add some life to your home with some beautiful succulents, there are a few tools and materials you’ll need to get started. First, you’ll need some well-draining soil. Succulents don’t like to sit in wet soil, so make sure to choose a potting mix that will allow excess water to drain away quickly. You can find succulent-specific mixes at most garden stores, or you can make your own by mixing together equal parts sand, perlite, and potting soil. Next, you’ll need some pots or containers to plant your succulents in. Succulents come in all shapes and sizes, so there’s no one-size-fits-all pot. Just make sure whatever you choose has drainage holes in the bottom so the water can escape. Finally, you’ll need some succulents! You can find these at most garden stores, or online. When choosing succulents, look for ones that are labeled “hardy” or “drought-tolerant.” These will be better able to survive in the dry conditions that succulents prefer. With these tools and materials, you’ll be ready to start planting your very own succulent garden.
Measuring and Cutting the Pipes
You will need a tape measure, a level, a pipe cutter, and a saw.
1. Measure the length of the pipes.
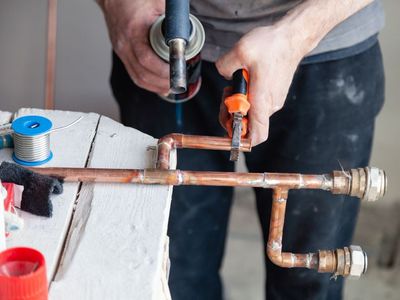
2. Cut the pipes to the correct length.
3. Use a level to make sure the pipes are level.
4. Use a pipe cutter to cut the pipes to the correct size.
5. Use a saw to cut the pipes to the correct size.
Assembling the P-trap
P-traps are one of the most commonly used traps in plumbing. They are also one of the easiest traps to assemble. In this article, we will show you how to assemble a P-trap. Tools and Materials Needed: -Pipe wrench -Teflon tape -Pipe cutter -Plumber’s putty Instructions:
1. Cut the pipes to the desired length using a pipe cutter. Make sure that the ends of the pipes are cut cleanly and at a 90 degree angle.
2. Wrap Teflon tape around the male threads of both pipes.
3. Screw the pipes together using a pipe wrench. Make sure that the pipes are screwed on tight.
4. Apply plumber’s putty around the base of the trap. 5. Install the trap under the sink.
Connecting the P-trap to the Drain
Pipe P-traps are commonly used to prevent sewer gases from entering a home through the drains. The “P” stands for “plug,” which is a fitting that seals the opening of the trap. A P-trap must be installed at each drain where there is a potential for sewer gases to enter the home. Most home drains have a P-trap installed. The P-trap consists of a U-shaped section of pipe with a threaded plug at the bottom. The drainpipe from the sink, tub, or other fixture attaches to the P-trap at the top. The trap arms, which extend out from the P-trap, also attach to the drainpipe. The arms are usually shorter than the vertical section of pipe, so that the trap has a water seal. This water seal prevents sewer gases from escaping up through the drain. To install a P-trap, first attach the P-trap to the drainpipe coming from the sink or other fixture. Use a slip joint or other type of fitting to make this connection. Then, connect the trap arms to the drainpipe, using either slip joints or threaded fittings. Finally, screw the plug into the bottom of the P-trap. If you are making a slip joint connection, be sure to use plumber’s putty or another type of sealant at all the joints. This will help to create a watertight seal and prevent sewer gases from leaking out.
Installing the Supply Lines
If you’re thinking about tackling a major home improvement project, one of the first things you’ll need to do is install new supply lines. This can be a daunting task, but with a little research and elbow grease, it’s definitely doable. Here’s a step-by-step guide to help you get the job done.
1. Turn off the water to your home. This is an absolutely essential first step. You don’t want to be working with live pipes!
2. Cut the old supply lines. Use a hacksaw or a similar cutter to sever the connection between the old lines and the main water supply.
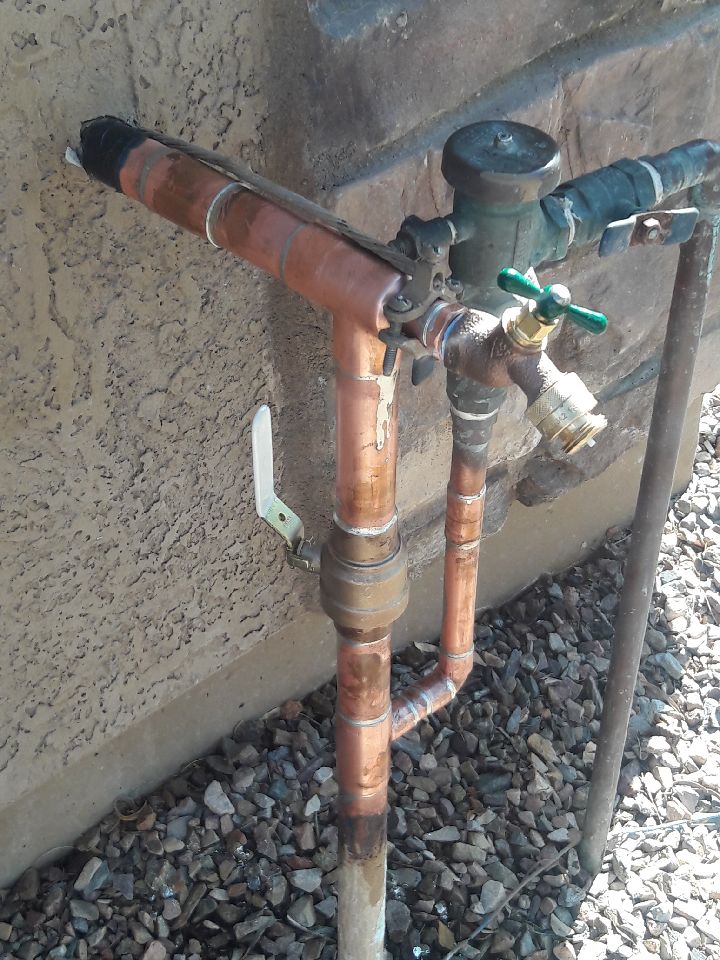
3. Install the new shutoff valves. Most homes will have two shutoff valves: one for the hot water and one for the cold.
4. Connect the new lines to the shutoff valves. Make sure you use Teflon tape or pipe dope to create a watertight seal.
5. Turn on the water and check for leaks. Slowly open the shutoff valves until water begins to flow through the new lines. Check all connections for leaks. With these simple steps, you can successfully install new supply lines in your home. Just remember to take your time and be careful, and you’ll be just fine.