How to Fix a Leaking Water Heater Drain Valve
A leaking drain valve can cause a lot of damage if not fixed quickly. It’s important to find out where the leak is coming from to fix it right.
When you see a leak, the first thing to do is make sure it’s from the drain valve. If you ignore this problem, it could cost a lot to fix and might even be dangerous.
This article will show you how to fix a leaky drain valve on your water heater. It will help you stop more damage and keep your system working well.
By following these steps, you can fix the problem well and might not need to get your water heater repaired.
Understanding the Water Heater Drain Valve
The drain valve is key to keeping water heaters running well. It helps drain out sediment and water from the tank. This ensures the heater works efficiently.
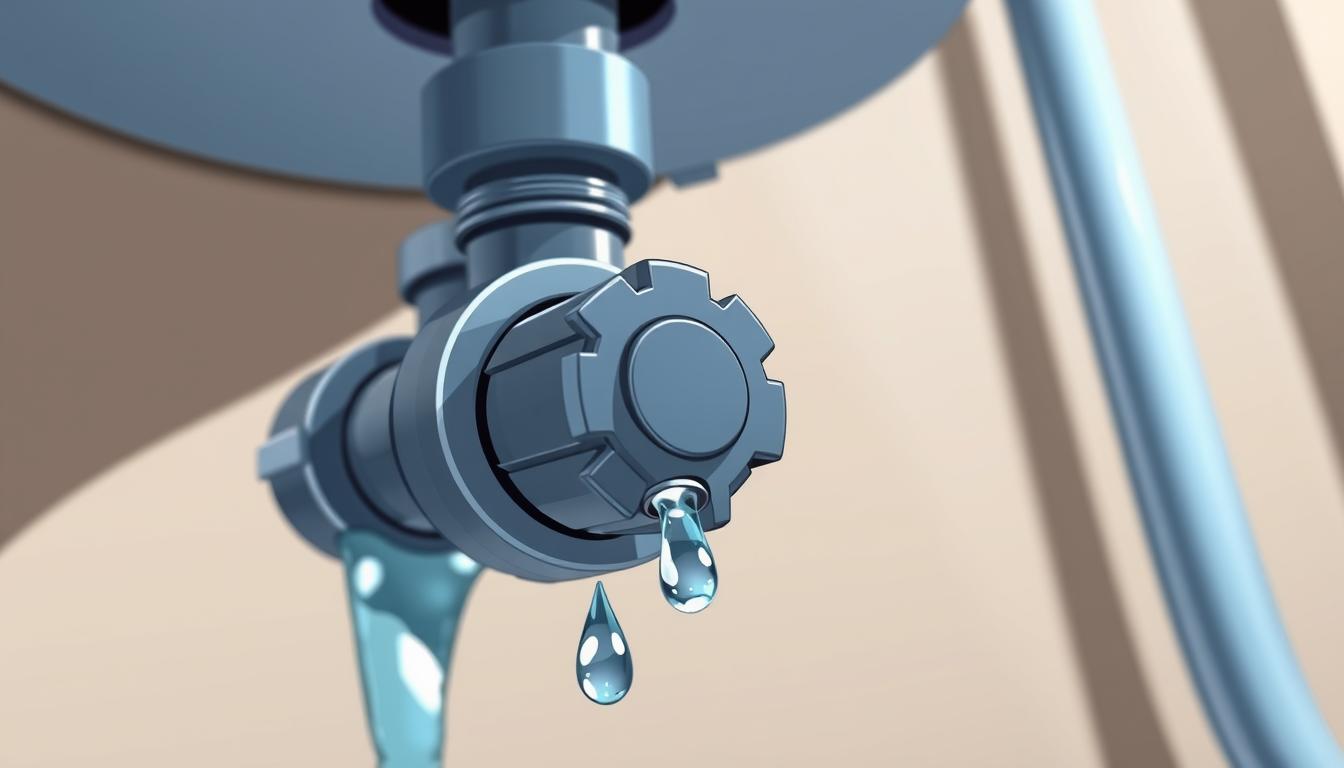
What is a Drain Valve?
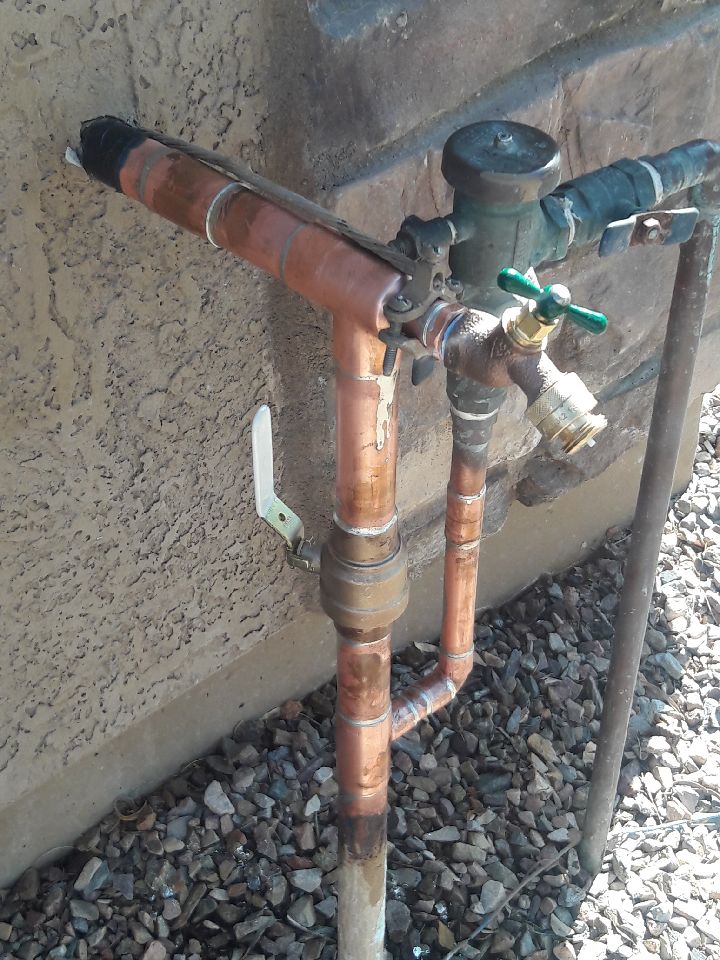
The drain valve is found at the bottom of the water heater tank. It’s main job is to let out sediment and water. Keeping the drain valve in good shape is important to avoid leaks and ensure it works right.
Importance of the Drain Valve
The drain valve is important for a few reasons. It helps get rid of sediment at the tank’s bottom, which can cause damage and lower efficiency. It also lets you drain the tank when you need to, like during maintenance or when replacing it. Ignoring the drain valve can cause leaks, lower water heater performance, and lead to expensive fixes.
| Function | Importance | Consequence of Neglect |
|---|---|---|
| Draining sediment and water | Maintains efficiency and prolongs lifespan | Leaks and reduced performance |
| Allows for tank drainage | Essential for maintenance and replacement | Potential for costly repairs |
Knowing how the water heater drain valve works is key for keeping it in good shape. By taking care of the drain valve, homeowners can stop leaks and keep their water heater running smoothly.
Common Causes of Drain Valve Leaks
Several factors can damage a water heater’s drain valve. Knowing these causes helps homeowners fix leaks and stop them from happening again.
Loose Connections
A loose connection is a common leak cause. The connection between the drain valve and the tank can loosen over time. Regular checks and tightening can stop leaks.
Corrosion and Wear
Corrosion and wear also lead to leaks. The valve is exposed to water and minerals, causing damage. Regular inspections for corrosion or wear can catch problems early.
- Look for rust or mineral deposits on the valve.
- Check for any looseness or movement in the valve.
Temperature Fluctuations
Extreme temperature changes can also cause leaks. Water heater materials expand and contract with temperature changes. Keeping the temperature stable helps prevent leaks.

Knowing these causes helps homeowners fix leaks early. This can save money and prevent water damage.
Signs You Have a Leak
Spotting the early signs of a water heater leak is key. A leaky drain valve can cause water damage and higher bills. Knowing the signs helps with effective water heater troubleshooting and upkeep.
Puddles Around the Water Heater
Puddles or water buildup near your water heater are clear signs of a leak. If you see water pooling, it’s time to find out where it’s coming from.
Water Pressure Fluctuations
A leaky drain valve can mess with your water pressure. If your water pressure is off, it might be due to a leak. Check the drain valve and other parts for leaks as a DIY water heater drain valve leak fix.
Rust or Mineral Deposits
Rust or mineral buildup near the drain valve or floor is another sign. These deposits form when mineral-rich water leaks and evaporates, leaving residue. Regular checks for these signs are part of effective water heater maintenance tips.
Being alert and spotting these signs early can help you fix the leak quickly. This might save you from bigger and more expensive repairs later.
Safety Precautions Before Repairing
Before you start fixing a leaking water heater drain valve, your safety is key. Safety steps are not just suggestions; they are must-do actions. They keep you safe from dangers linked to water heater repair.
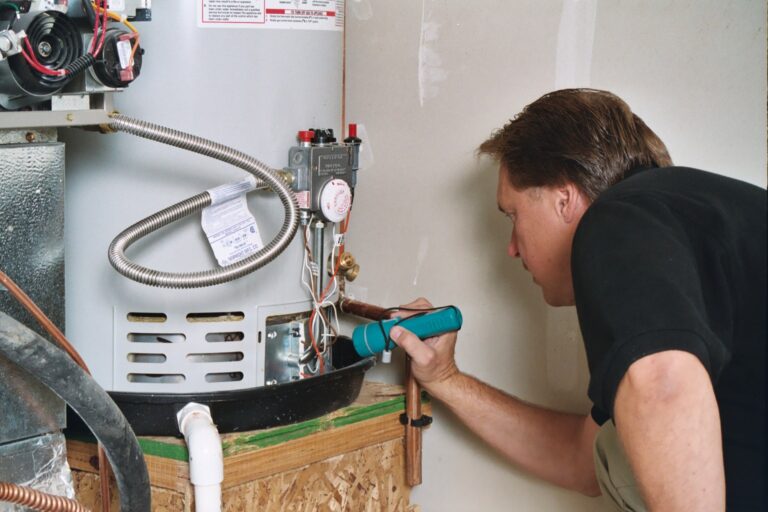
Turning Off the Power Supply
First, always turn off the power supply for electrical appliances like water heaters. This step avoids electrical shocks or accidents. Find your home’s circuit breaker or fuse box and turn off the power to the water heater. Make sure the heater is fully powered down before you move on.
Shutting Off the Water Supply
Then, you must shut off the water supply to the heater. Find the cold water shut-off valve and turn it clockwise. This is key to stop more leaks and keep your work area safe. After shutting off the supply, open a hot water faucet to drain the system and ease pressure.
Using Protective Gear
Lastly, using protective gear is a smart move to protect yourself. Wear gloves to avoid cuts from sharp edges and electrical parts. Safety glasses help keep your eyes safe from debris or water splashes. These precautions greatly lower the chance of getting hurt.

“Safety is not just a precaution; it’s a necessity when working with potentially hazardous appliances like water heaters.”
By taking these steps, you ensure a safe and effective repair job.
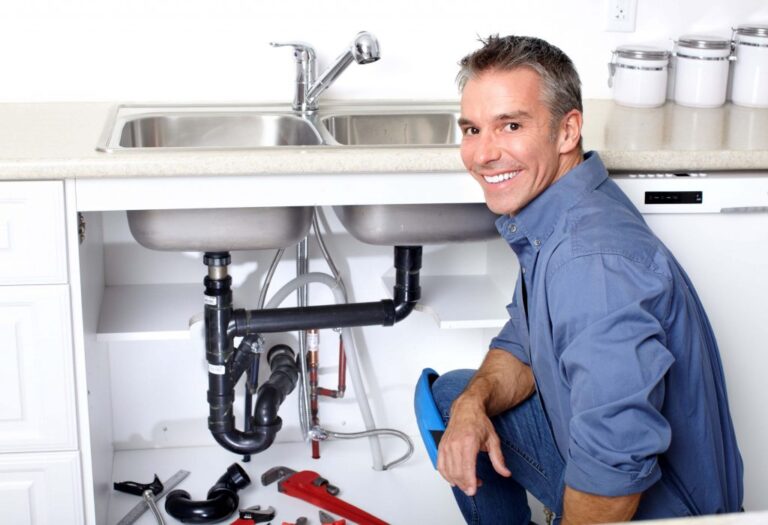
Tools and Materials Needed for Repair
Before you start fixing that leaky water heater drain valve, it’s essential to gather the necessary tools and materials. Having everything on hand will make the process smoother and more efficient.
Essential Tools
To begin the repair, you’ll need some basic tools. These include:
- Adjustable wrench: For loosening and tightening the drain valve.
- Channel-type pliers: Useful for gripping and twisting objects.
- Teflon tape: Helps create a watertight seal on threaded connections.
- Socket wrench or basin wrench: Depending on the type of drain valve you’re dealing with.
As Family Handyman suggests, “Having the right tools can make a significant difference in the ease and success of your DIY projects.”
Replacement Parts
If the leak is due to a faulty or damaged part, you’ll need to replace it. Common replacement parts include:
- Drain valve: If the existing one is corroded or damaged beyond repair.
- O-rings or gaskets: To replace worn-out seals.
- Thread sealant: For ensuring a leak-tight connection.
Safety Equipment
Safety should always be your top priority when working with water heaters. Make sure you have:
- Safety glasses: To protect your eyes from water splashes or debris.
- Gloves: To prevent cuts and abrasions.
- Work light: If you’re working in a dimly lit area.
“Safety is not just a precaution, it’s a necessity when working with potentially hazardous materials and equipment.”
Step-by-Step Guide to Fixing the Leak
Fixing a leaky water heater drain valve is easy with the right tools and patience. First, turn off the power and water supply to the heater. This step prevents accidents and damage.
Assess the Leak Location
Start by finding where the leak is. Look at the drain valve and around it to see where the leak is coming from. Check if it’s because of a loose connection, corrosion, or valve wear. Knowing the exact cause is key to fixing it right.

Tightening the Drain Valve
If the leak is from a loose connection, tighten the valve. Use a wrench to turn it clockwise. But be careful not to tighten too much, as it could harm the valve or tank. It’s important to find the right balance to avoid damage.
Replacing the Drain Valve
If tightening doesn’t work or if the valve is damaged, you need to replace it. First, drain the water heater until it’s below the valve. Then, remove the old valve and put in a new one. Use Teflon tape on the threads for a tight seal. Replacing the valve is a bit more work, but it’s doable on your own.
By following these steps, you can fix a leaky water heater drain valve. This saves water and can prevent expensive repairs later.
Temporary Solutions for a Leak
Homeowners with a leaking water heater drain valve can find temporary relief. These fixes aren’t a permanent solution but can help until a more lasting repair is done.
Using Teflon Tape
Teflon tape, or PTFE tape, is a common fix for leaks around threaded connections. Wrap it around the threads of the drain valve in a clockwise direction. This creates a tighter seal when the valve is tightened. But, remember, Teflon tape isn’t for all leaks, only those at threaded connections.
Plumbing Sealants
Plumbing sealants like pipe dope or silicone can also temporarily fix leaks. Apply them to the leaking area for a watertight seal. For example, pipe dope on the drain valve threads adds extra protection against leaks. But, how well they work depends on the leak and the sealant type.
It’s important to know these temporary fixes aren’t a permanent solution. Leaks that keep coming back can cause serious problems like water damage and higher utility bills.
When to Call a Professional
Knowing when to call a professional plumber can save you time, money, and stress. While some leaks can be fixed on your own, others need a pro’s help.
Signs for Expert Help
If you see these signs, it’s time to call a plumber:
- Persistent Leaks: If a leak won’t stop, even after trying to fix it, get a pro.
- Complex Issues: Big water damage, rust-colored water, or weird noises mean you need a pro.
- Lack of Confidence or Experience: If you’re not sure or feel uneasy, a plumber can fix it right.
Cost Considerations
Knowing the cost of hiring a pro can help you decide. Several things affect the price:
- Nature of the Problem: Simple fixes are cheaper, but complex ones cost more.
- Plumber’s Rates: Plumbers charge differently based on their skills, location, and services. Get quotes from a few to compare.
- Emergency Calls: Urgent calls might cost more because they’re needed right away.
While hiring a pro costs upfront, it’s worth it for the long-term benefits. You avoid more damage and know the job is done right.
Preventative Maintenance Tips
Keeping your water heater in good shape is essential. It helps avoid leaks and makes it last longer. By being proactive, you can catch problems early.
Regular Inspection
It’s important to check your water heater often. Look for moisture or corrosion around the drain valve, connections, and nearby areas.
Key areas to inspect include:
- The drain valve and its connections
- The anode rod for signs of corrosion
- The temperature and pressure relief valve
Flushing Your Water Heater
Flushing your water heater is a must. It gets rid of sediment that can cause problems. Do it at least once a year.
The process involves:
- Turning off the power and water supply
- Attaching a hose to the drain valve
- Draining the tank into a suitable drainage area
Proper Installation Techniques
Installing your water heater right is key. It helps avoid leaks and keeps it running well. Make sure it’s installed correctly.
| Installation Aspect | Best Practice |
|---|---|
| Location | Choose a well-ventilated area, away from direct sunlight and moisture |
| Connections | Ensure all connections are secure and not over-tightened |
| Temperature and Pressure Relief Valve | Install according to the manufacturer’s instructions |
By following these tips, you can lower the chance of leaks and make your water heater last longer. Regular checks, flushing, and correct installation are vital.
Frequently Asked Questions
Homeowners often have many questions about water heater leaks and maintenance. We’ll answer these common questions here. Knowing the answers can help you fix problems and keep your water heater working well.
How Can I Tell If My Water Heater is Leaking?
Spotting a leak early can prevent water damage and expensive fixes. Look for puddles, changes in water pressure, and rust or mineral buildup. Regular checks can catch leaks before they get worse.
What Should I Do If I Can’t Fix the Leak?
If you can’t fix the leak yourself, get professional help. A licensed plumber can find and fix the problem. Waiting too long can cause more damage and safety risks.
“Leaky faucets and toilets are obvious, but a leaking water heater can be just as problematic, if not more so, due to the large volume of water it holds.”
How Often Should I Check the Drain Valve?
Regular maintenance keeps your water heater running longer. Check the drain valve twice a year. Look for corrosion, mineral buildup, or leaks. Also, flush your water heater yearly to keep it efficient and prevent leaks.
| Maintenance Task | Frequency | Benefits |
|---|---|---|
| Inspect Drain Valve | Twice a Year | Early detection of leaks or corrosion |
| Flush Water Heater | Annually | Removes sediment, improves efficiency |
| Check for Leaks | Regularly | Prevents water damage, reduces waste |
By doing these maintenance tasks, your water heater will work better and safer. This saves you money and trouble in the long run.
Conclusion: Keeping Your Water Heater Functional
Keeping your water heater in good shape is key for comfort and saving energy. Regular checks and maintenance can stop problems like a leaking drain valve.
Regular Checks Matter
Regular checks can spot problems early. Look for corrosion or wear on the drain valve. Make sure all connections are tight. Also, flush the water heater to clear out sediment.
Preventing Leaks and Ensuring Efficiency
Stopping water heater drain valve leaks is important. It prevents water damage and keeps the system running well. By following the steps in this article and doing regular maintenance, you can make your water heater last longer.
Being proactive with maintenance ensures your water heater works well. It gives you hot water when you need it and reduces the chance of leaks and other problems.