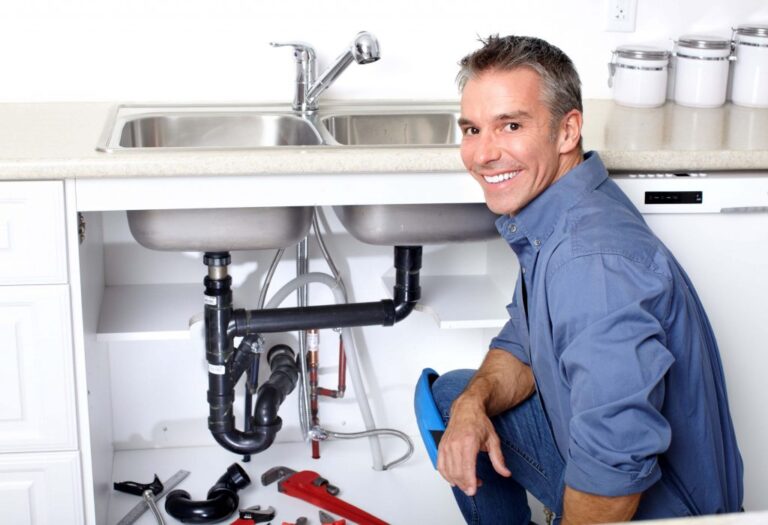
A Comprehensive Guide to Properly Plumb Your Bathroom
Your bathroom is one of the most important rooms in your home, so it’s important to make sure the plumbing is installed correctly. This guide will show you how to plumb your bathroom correctly, so you can enjoy many years of trouble-free use. Bathroom Plumbing Guide: How to Plumb Your Bathroom Correctly When it comes to plumbing, your bathroom is one of the most important rooms in your home. Get the job done right by following this guide to bathroom plumbing. There are a few things to keep in mind when plumbing your bathroom:
1. The main drain. This is the large drain that carries all the water from your bathroom fixtures to the sewer or septic system. It’s important to make sure this drain is installed properly and is clear of any clogs.
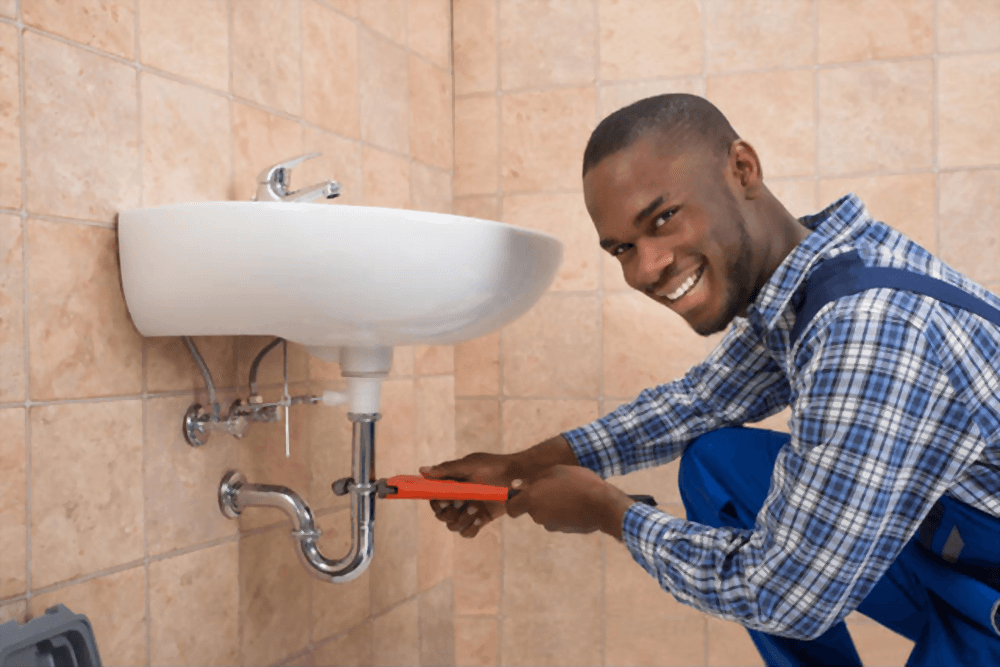
2. The secondary drains. These are the drains for your bathroom sink, toilet, and bathtub or shower. Each of these drains needs to be installed correctly in order to work properly.
3. The vent stack. This is a pipe that runs from the main drain to the outside of your home. It allows air to enter the drain system so that the water can flow freely.
4. The water lines. These are the pipes that carry fresh water to your bathroom fixtures. They need to be installed correctly so that there are no leaks.
5. The sewer line. This is the pipe that carries waste water from your bathroom fixtures to the sewer or septic system. It’s important to make sure this pipe is installed correctly to avoid leaks and backups. Now that you know the basics of bathroom plumbing, follow these steps to plumb your bathroom correctly:
1. Install the main drain. This is typically done by a professional plumber.
2. Install the secondary drains. These can be installed by a do-it-yourselfer, but it’s important to make sure they’re installed correctly.
3. Install the vent stack. This is also typically done by a professional plumber.
4. Install the water lines. These can be installed by a do-it-yourselfer, but it’s important to make sure they’re installed correctly.
5. Install the sewer line. This is also typically done by a professional plumber. Follow these steps and you’ll have your bathroom plumbing installed correctly in no time.
Planning Your Bathroom Layout
Bathrooms are often one of the most challenging rooms in the house to layout. There are many factors to consider such as the size and shape of the room, the placement of fixtures, and how to best use the available space. When it comes to planning your bathroom layout, there are a few things to keep in mind. First, you’ll want to decide what type of layout you want. There are many different options available, so it’s important to choose one that will work well for your specific room. Next, you’ll need to consider the placement of fixtures. This includes items such as the toilet, sink, and shower. You’ll want to make sure that these are placed in a way that is both functional and stylish. Finally, you’ll need to think about storage. Bathrooms can often be short on storage space, so it’s important to plan ahead. This may include adding shelves or cabinets, or utilizing the space under the sink. By following these tips, you can plan the perfect bathroom layout for your home.
Measuring and Cutting Pipes
Pipes are an important part of any plumbing system, so it is critical that they are cut correctly and measuring them properly is the first step. Measuring pipes can be done in two ways, determining the circumference or the diameter. The circumference is the distance around the outside of the pipe, while the diameter is the distance across the pipe. To get an accurate measurement, it is best to use a tape measure designed for measuring pipes. Once you have determined the proper measurement, you need to cut the pipe. There are several ways to do this, but the most common is to use a pipe cutter. A pipe cutter is a tool that cuts the pipe along a circular blade. It is important to make sure that the pipe cutter is the correct size for the pipe you are cutting. There are also saws that can be used to cut pipes, but they are more difficult to control and can create a jagged edge. When cutting pipes, it is important to make sure that the cuts are clean and straight. Any imperfections in the cuts can cause problems later on. After the pipes are cut, they need to be connected. This is usually done with fittings, which are pieces that attach to the ends of the pipes. Fittings come in different types, depending on the type of pipe being used. When connecting pipes, it is important to make sure that the fitting is the correct size and type for the pipe. Improperly fitted pipes can lead to leaks.
Assembling Pipe Fittings
Pipe fittings are components used for connecting, terminating, controlling flow, and changing the direction of piping in many different industries. Pipe fittings are made from a variety of materials, including metals, plastics, and rubber. When choosing the best pipe fitting for your application, you need to consider the type of fluid being transported, the operating conditions, the type of connection, and the desired pressure rating. There are many different types of pipe fittings, including adapters, elbows, couplings, tees, reducers, unions, and more. Each type has its own unique function and purpose. Adapters are used to connect two pipes of different diameters or to connect a pipe to a valve, fitting, or piece of equipment. Elbows are used to change the direction of fluid flow, and couplings are used to connect two sections of pipe. Tees and reducers are used to control or change the flow of fluid, and unions are used to connect two sections of pipe that can be disconnected without having to cut the pipe. When selecting a pipe fitting, it is important to consider the material it is made from. Metals such as brass, copper, stainless steel, and aluminum are common choices for pipe fittings. Plastics such as PVC, polyethylene, and polypropylene are also popular choices. Rubber pipe fittings are often used in applications where flexibility and vibration dampening are required. It is also important to consider the operating conditions when selecting a pipe fitting.
For example, if the fluid being transported is hot, then a fitting made from a heat-resistant material such as stainless steel or brass would be a better choice than one made from a less heat-resistant material such as PVC. If the operating conditions are corrosive, then a fitting made from a corrosion-resistant material such as bronze or plastic would be a better choice. The type of connection is also an important consideration when choosing a pipe fitting. Threaded connections are the most common type and are typically used for small-diameter piping. Flanged connections are another option and are often used for larger-diameter piping. Welded connections are the strongest type of connection and are often used for high-pressure applications. Finally, the desired pressure rating is another important consideration when selecting a pipe fitting. Pressure ratings indicate the maximum amount of pressure that a fitting can safely withstand. The pressure rating is usually expressed in pounds per square inch (psi) or bar.
Installing Supply Lines
Supply lines are a crucial part of any base in Fallout 4. They allow you to connect water and power to your settlements, which is essential for survival. The process of installing supply lines can be a bit confusing, but this guide will help you get started. First, you need to find a suitable location for your supply line. It should be close to the settlement you want to supply, but not too close to any enemies. Once you have found a spot, build a small platform using the workshop menu. This will be where your supply line terminal will be located. Next, you need to connect your supply line to a power source. If you’re supplying water, you’ll need to connect it to a water pump. If you’re supplying power, you’ll need to connect it to a generator. Once you’ve done this, you can begin running your supply line to your settlement. When you reach your settlement, you’ll need to build a receiving terminal. This can be done using the workshop menu. Once you’ve built your terminal, you can connect your supply line to it. Now that your supply line is up and running, you can start supplying your settlement with water or power. If you ever need to move your supply line, simply disconnect it from the terminal and reconnect it at the new location.
Hooking Up the Drainage System
After the house is built and the water and sewer lines are installed, it’s time to connect the drainage system to them. This involves installing a backwater valve, which is a device that prevents sewage from flowing back into the house, and connecting the various drains to the sewer line. Hooking up the drainage system is not a difficult task, but it is important to do it correctly to avoid problems in the future. Here are the steps to follow: 1. Install the backwater valve. This should be done before the sewer line is connected to the house. 2. Connect the main drain to the sewer line. 3. Connect the floor drains to the main drain. 4. Connect the shower and sink drains to the main drain. 5. Test the system by running water through all the drains.
Venting the Bathroom
Bathrooms are one of the most important rooms in any home, and yet they are often one of the most neglected when it comes to ventilation. Proper ventilation is essential in bathrooms to help remove moisture and odors that can lead to mold and mildew growth. There are a number of ways to vent a bathroom, and the best method may vary depending on the size and layout of the room. One option for venting a bathroom is to install an exhaust fan. Exhaust fans are typically mounted on the ceiling and vented to the outside of the home. They are designed to remove moisture and odors from the air and can be used in conjunction with a bathroom venting system. Another option for venting a bathroom is to open a window. This is often the easiest and most effective way to remove moisture and odors from the air. However, it is important to make sure that the window is properly screened to prevent insects from entering the home. A third option for venting a bathroom is to use a dehumidifier. Dehumidifiers work by removing moisture from the air and can be used in conjunction with an exhaust fan or windows. Finally, it is also possible to vent a bathroom by using a combination of all three methods. This is often the most effective way to remove moisture and odors from the air and can help to prevent mold and mildew growth.